How to build an HTML web resource on entity form to use as Log


How to build an HTML web resource on entity form to use as Log
You can use Visual Studio Code to create a custom text box that will insert a timestamp whenever the user makes a new entry. After you create the web resource, you will deploy it to your model-driven app and then add it to the Scout Report form.
Create folders and files for your project
This will create and deploy a web resource called Time Stamped Textbox.
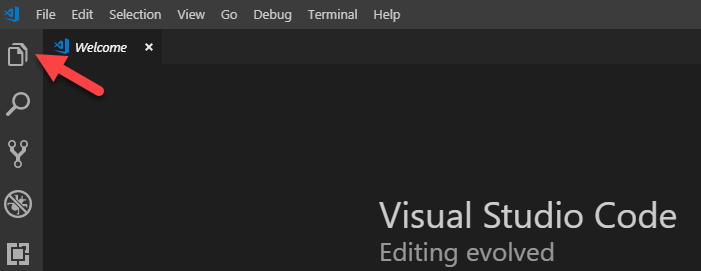
Start Visual Studio Code and select Explorer.
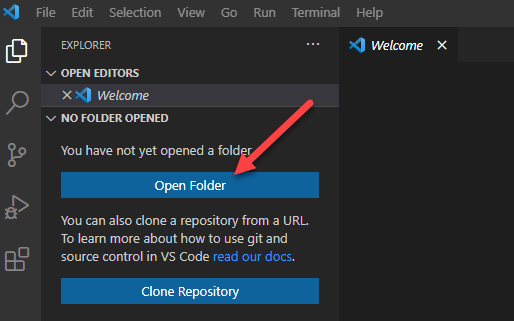
Select Open Folder.
Right-click and create a new folder.
Name the folder Web Resources and select the Select Folder button.

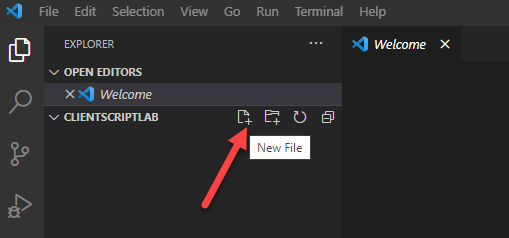
Hover over the folder that you created and select New File.
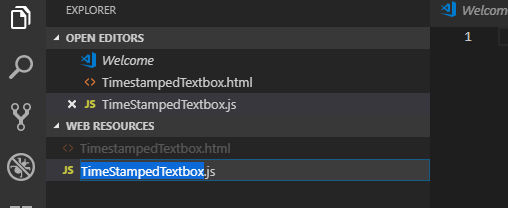
Name the file TimestampedTextbox.html.

Hover over the folder and select New File again.
Name the new file TimestampedTextbox.js.
Open the TimestampedTextbox.html file and add the HTML markup, as follows.
Note: tt_TimestampedTextboxSript is what you will name the script file when you upload as a web resource, and timestampedTextarea is the ID that you will refer to when you want to interact with textarea from the script.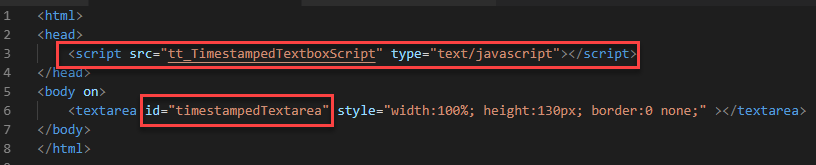
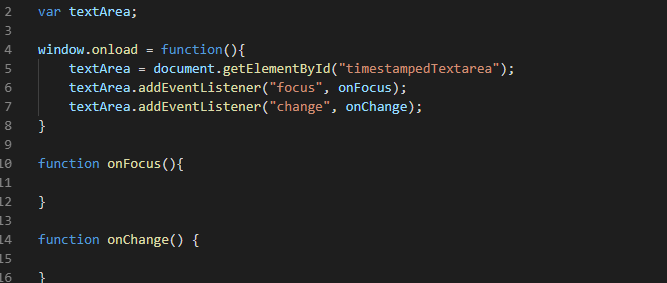
Open the script file and paste the following snippet. This snippet will create a global variable for the textArea and add event listeners for the focus and changed events.

Add the event handlers for onFocus and onChanged.
Add the function that will build the Date Time and return it as readable text. Add the following function to the script file.

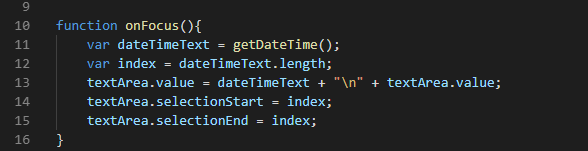
Add the following snippet inside the OnFocus function. This snippet will call the getDateTime function and add the returned value to the text area.
Add web resources
Load the web resources to the Class.
Select Solutions and select to open Class Solution.

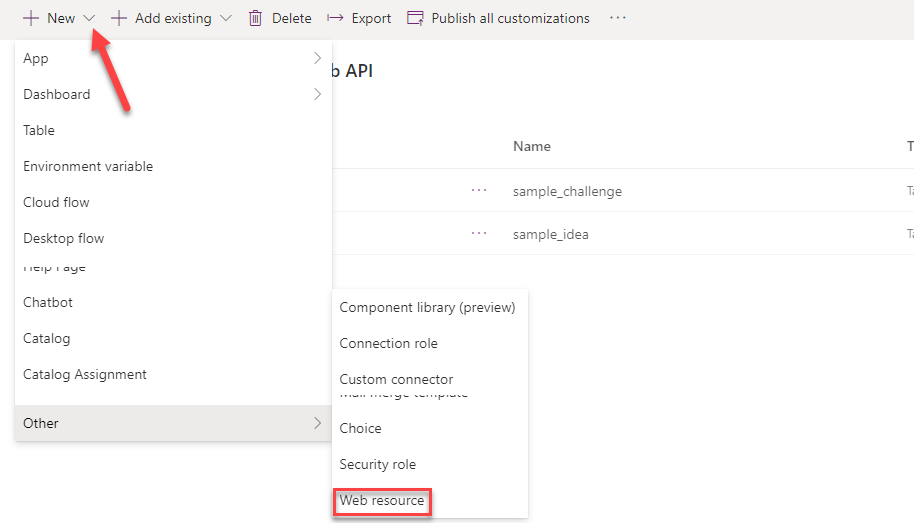
Select New > Other > Web Resource.
Enter TimestampTextareaHTML for Name, Timestamp Text Area HTML for Display Name, select Webpage (HTML) for Type, and then select Browse.

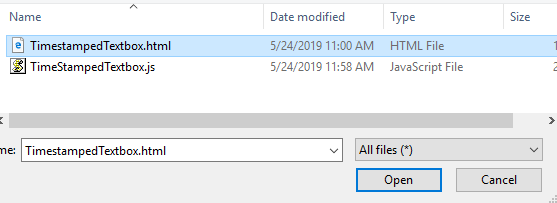
Select the HTML resource that you created and select Open.
Select Save.

Select Publish and wait for the publishing to complete.
Close the web resource editor browser tab.
Select Done.
Select New > Other > Web Resource again.
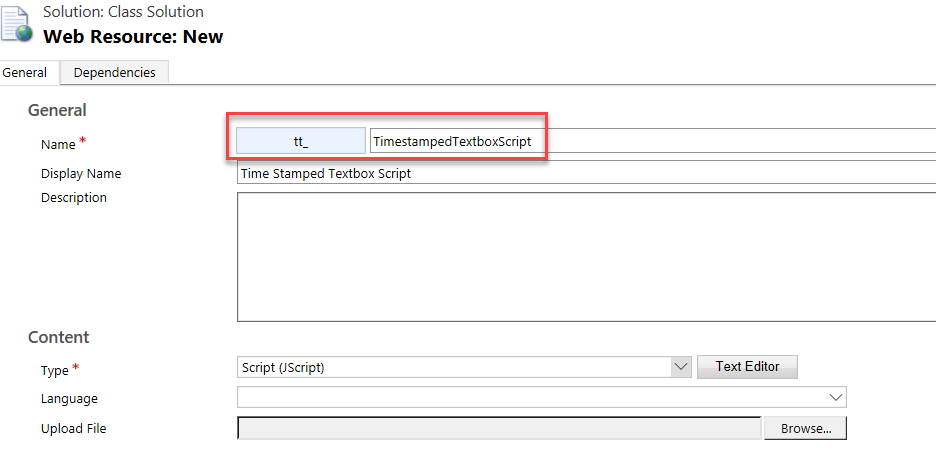
Enter TimestampedTextboxScript for Name, Time Stamped Textbox Script for Display Name, select Script (Jscript) for Type, and then select Browse. The name must match the script tag that you added to the HTML header.
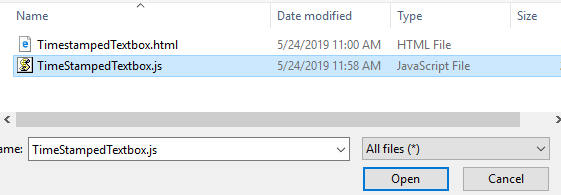
Select the script file that you created and select Open.
Select Save.
Select Publish and wait for the publishing to complete.
Close the web resource editor browser tab.
Select Done.
Add a text area to a form
Add the text area to the Scout Report form.
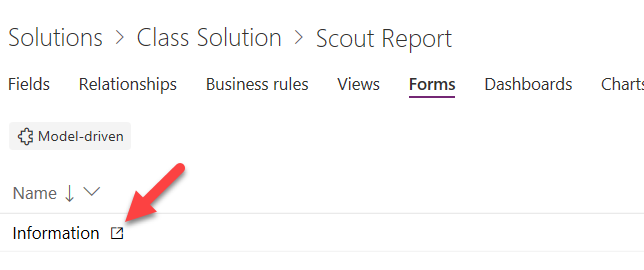
While still in the Class Solution, locate and select to open the Scout Report entity.

Select the Forms tab and select to open the Information form.
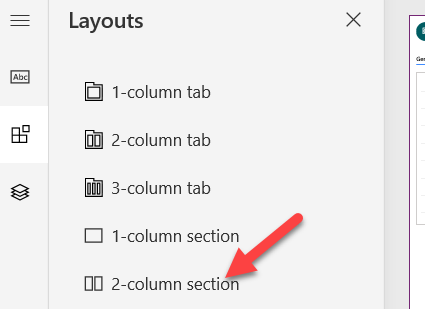
Select the Layouts tab and select 2-Colum Section.
A new section will be added to the form. Select Save.
Select Publish and wait for the publishing to complete.
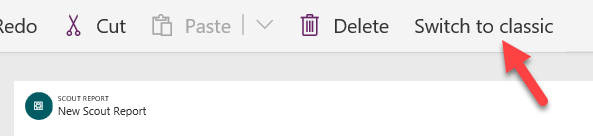
Select Switch to classic.
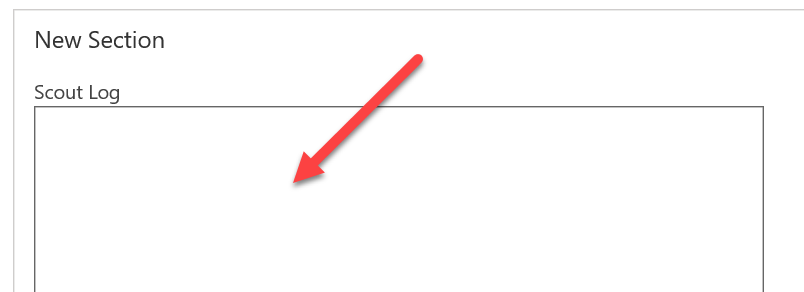
Scroll down and select New Section.

Select the Insert tab and select Web Resource.

Enter tt and then select the Lookup button.

Select the HTML web resource that you added to the Class solution.
Enter TimestampedScoutLog for Name, Scout Log for Label, check the Display label on the Form check box, and select the Formatting tab.

Select One Column, enter 10 for Number of Rows, and then select OK.

Select the Home tab and select Save.

Select Publish and wait for publishing to complete.
Close the Classic form edition browser tab.
Close the Preview form editor browser tab.
Select Done.

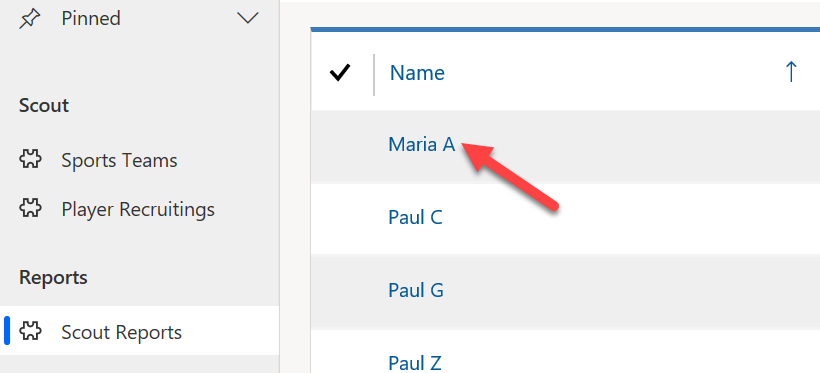
Select Apps and select to open the Scout Zone application.

Select Scout Reports and open one of the records.
Locate the new section and select the text area that you added.
Timestamped should be added to the text area. Type some text and select outside of the text area.

Select the text area again. Another timestamp should be added.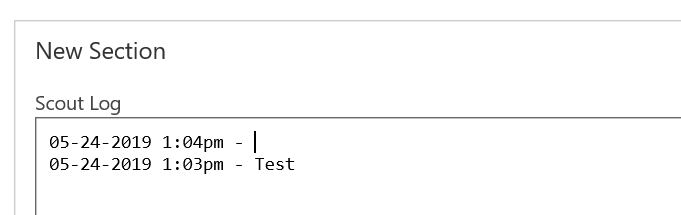


Comments
Post a Comment